DashOpener is a Python script to ensure that a browser has the correct page loaded, it's useful for displaying signage and dashboards.
System Requirements
- Latest version of Google Chrome (Download from https://ninite.com/chrome/)
- Latest Version of Python 3.x (Download from https://www.python.org/downloads/)
- Selenium 3.4.2 (Download from https://pypi.org/project/selenium/)
- Chrome Driver (Download from https://sites.google.com/a/chromium.org/chromedriver/downloads)
Installation
- Install Google Chrome (if not already installed)
- Install Python 3.x (for the purposes of DashOpener, please install as the current user!)
- Install Selenium (selenium-3.4.2-py2.py3-none.any.whl) using the following command:
%LOCALAPPDATA%\Programs\Python\Python36\scripts\pip.exe install selenium-3.4.2-py2.py3-none-any.whl - Create a directory to house DashOpener, something like
C:\Users\YourUser\DashOpener:mkdir %USERPROFILE%\DashOpener(This directory is optional, but you may wish to store your installation files here)
mkdir %USERPROFILE%\DashOpener\configs
mkdir %USERPROFILE%\DashOpener\profiles
mkdir %USERPROFILE%\DashOpener\resources - Download dashboard.py to
%USERPROFILE%\DashOpener - Create a short-cut (.lnk) with the following details:
Target:%LOCALAPPDATA%\Programs\Python\Python36\python.exe %USERPROFILE%\DashOpener\dashboard.py site-a
Start in:%USERPROFILE%\DashOpener
Run: Normal Window - Create a configuration file (see Configuration Format) under
%USERPROFILE%\DashOpener\configs:
For site-a we'll create%USERPROFILE%\DashOpener\configs\site-a.json - Double-click the short-cut you created previously, and it should launch your website. Once launched:
- Move it to the desired screen
- Wait 3 seconds and close the Python/Command Line window that was opened alongside it
- Edit the configuration file so fullscreen is true
- Double-click the short-cut again and you should have a full-screen window, ready to use.
Notes
- The
fullscreenandmaximizeproperties are best set after you have launched the dashboard, and moved it to the desired screen - Once launched, the file will be updated with coordinates for the dashboard's position on the screen (and when re-launched, it will be placed there)
- The
autologinsection is optional, but if provided will attempt to automatically fill any form that contains both values (such as a login screen)
Configuration Format
The configuration is a very simple JSON file, the below templates can be used when creating new files:
Public/Unauthenticated Dashboards
If your dashboard/signage doesn't need a login, a simple configuration such as the one below will do the trick.
{
  "url": "https://earth.nullschool.net/#current/wind/surface/level/orthographic=-225.15,-27.51,1023",
  "fullscreen": false,
  "maximize": false
}
Dashboards Requiring Login
For authentication, you can specific the HTML identifier (the value of the id attribute) and value of any fields to locate and populate
{
  "url": "https://your.lob.site/index.jsp#/some/dashboard/url",
  "fullscreen": false,
  "maximize": false,
  "autologin": {
    "j_username": "YourUsername",
    "j_password": "YourP4ssw0rd1!"
  }
}
If identifiers are not visible in the HTML, you can use the Chrome inspector to grab the CSS selector, and use that instead of the identifier!
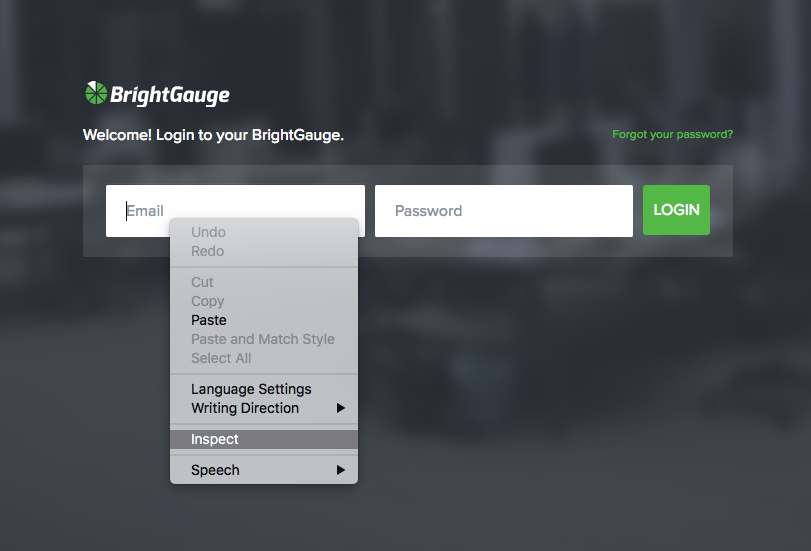
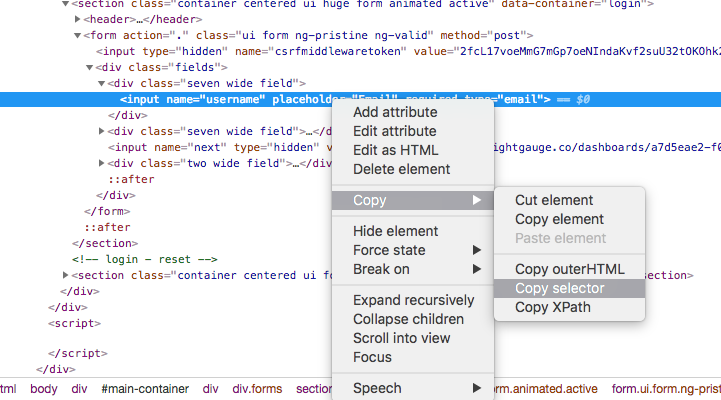
If you do this, be sure that you remove any double-quotes " from the selector (so as not to save invalid JSON) and be aware that if the login page changes in the future, you may need to repeat this step!
{
  "url": "https://company.brightgauge.co/dashboards/a7d5eae2-f0fd-11e7-80d2-0ee281a7736c/",
  "fullscreen": true,
  "maximize": false,
  "position": {
    "x": 0,
    "y": 0
  },
  "use_css_selectors": true,
  "autologin": {
    "#main-container > div > div > section.container.centered.ui.huge.form.animated.active > form > div > div:nth-child(1) > input[type=email]": "yourlogin@email.com",
    "#main-container > div > div > section.container.centered.ui.huge.form.animated.active > form > div > div:nth-child(2) > input[type=password]": "DashboardLogin"
  }
}